Note: Before you migrate documents into your Mailfence account, create a backup. This will allow you to avoid any possible data loss during migration process.
Migrate documents using WebDAV client program: (recommended)
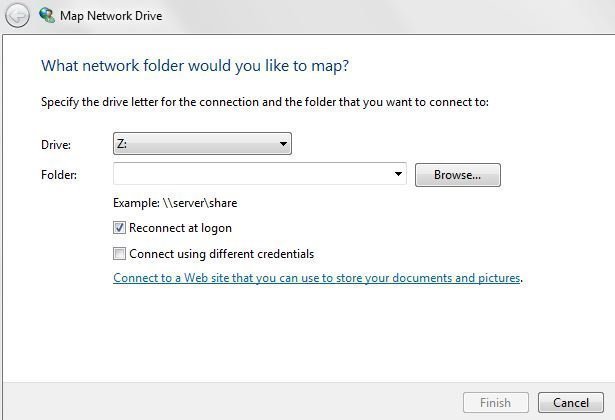
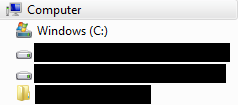
1. Connect your document storage service with your device using WebDAV protocol
OR
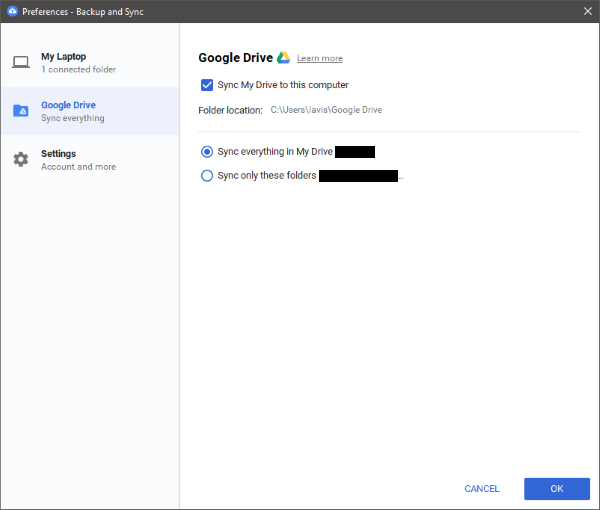
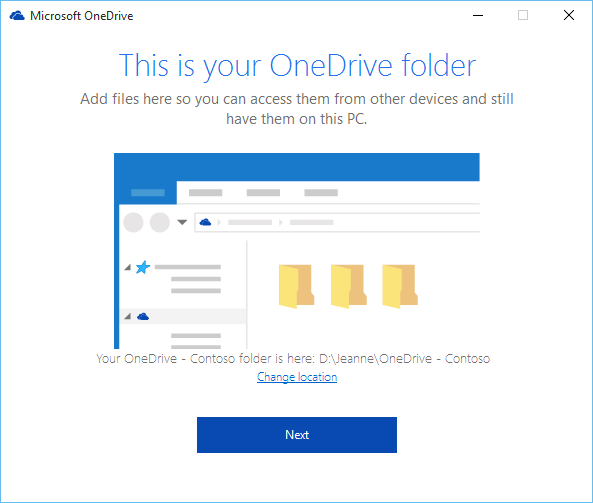
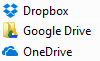
By using the respective service desktop app. Following links will guide you on how to install the destop apps of Dropbox, Onedrive and Google Drive:
- DropBox by following their guidelines.
- OneDrive by following their guidelines.
- Google drive by following their guidelines.
2. Finish connecting your external document storage service with your device using WebDAV or by using respective desktop apps.
3. Connect your Mailfence Documents via WebDAV to your device by following steps mentioned here.
4. Drag & drop OR copy-paste all your files from Outlook, OneDrive, Google Drive, or any other service (local folder) to Mailfence documents drive (WebDAV folder).
Migrate documents using Mailfence web-interface:
1. Log in to your Mailfence account using web-interface.
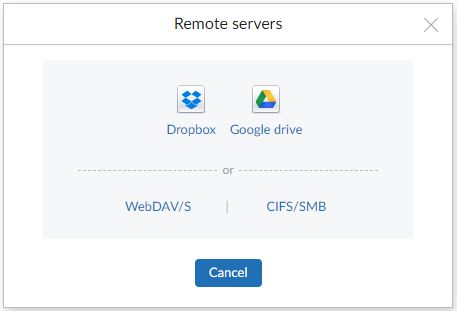
2. Add a remote server by going to Settings -> Documents -> External storage
3. Click on New and choose a service (e.g., Dropbox, Google drive) or server type (e.g., WebDAV or CIFS/SMB)
Migrate documents to Mailfence from Dropbox:

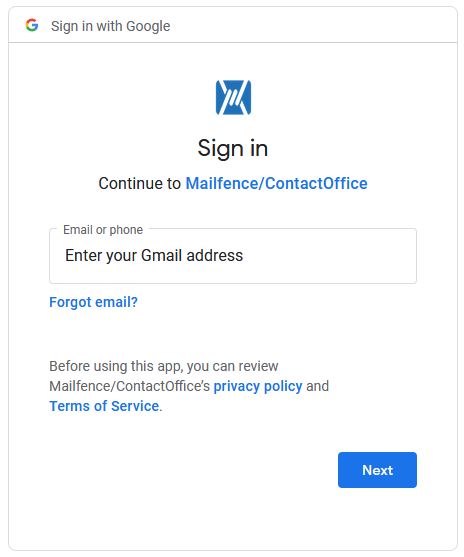
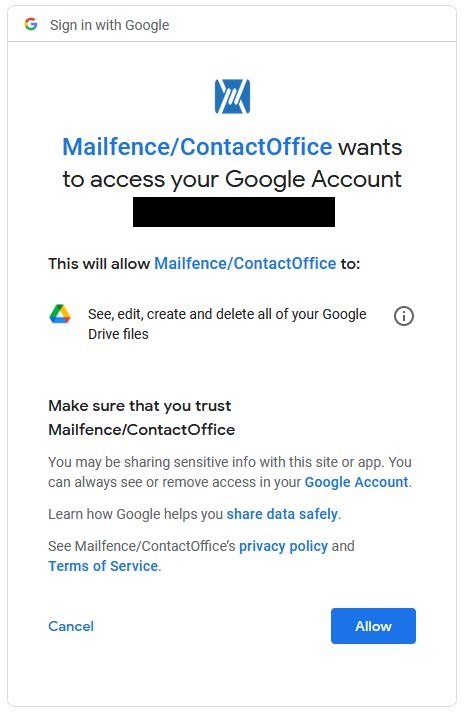
Migrate documents to Mailfence from Gmail:
Migrate documents to Mailfence from any WebDAV/S server
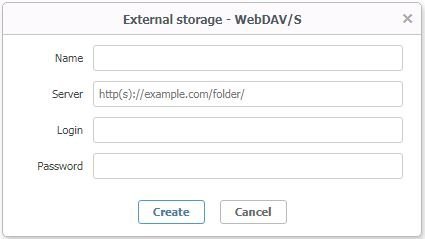
- Name: this name will identify the external server. This name is limited to Mailfence and has no link with the actual name of the external server.
- URL: external server WebDAV address.
- Login: your login on the remote server.
- Password: your password on the remote server.
Click on Create: This will automatically validate the settings and create the remote server if the settings are valid.
4. Drag & drop OR copy-paste all your files from Outlook, OneDrive, Google Drive, or any other service (WebDAV folder) to Mailfence documents.
5. Optional: After migrating your documents from the external service, you can then either delete the external server access OR toggle it off (if you prefer).

Should you have any questions, please send us an email to support@mailfence.com (PGP key).